BEST COOKIE EVER! These Key Lime Cookies literally melt in your mouth! They are super soft, coated with a sweet and tangy glaze, an the best part is the absolutely perfect fresh key lime flavor. Keep the recipe handy because everyone will ask you to share this easy key lime cookie recipe!
This post is sponsored by Challenge Butter. All recipes, thoughts, and opinions are cooked up right here at Easy Family Recipes.
Key Lime Cookies – The EASY Way!
There isn’t a person that has tried these cookies that has not raved about how good they are! Made with a soft, tender butter meltaway cookie base and then glazed with a tangy key lime icing, these cookies have all the flavor of key lime pie – in cookie form!
Key lime pie can be a process to make, but these Key Lime Cookies are so EASY! They just use a few basic ingredients and come together in minutes.
What I love about these cookies:
- All the Key Lime flavor! I have been told so many times, “These taste just like eating key lime pie!” and they really do have the best key lime flavor!
- Portable– Key lime pie can be messy, but these cookies make it easy to take along to a picnic, beach day, road trip etc.
- Melts in your mouth– One of the things that make these cookies so irresistible is how they melt in your mouth. The soft buttery texture (thanks to Challenge Butter!) make them so light but so delectable.
- Bite-sized – I like to make these cookies small so they are perfect to eat in a bite or two! You can make them regular sized or even over-sized as well, but there is just something about popping one bite sized cookie in your mouth that can quench my sweet tooth perfectly!
Recipe Notes
This Key Lime Cookie recipe is as simple as promised! Just a few common pantry ingredients along with some fresh key limes for a cookie that will soon become a family favorite.
In this section I am going to go through a few tips and tricks I use when making this recipe to get the absolute best and most delicious results.
Make sure to scroll to the bottom for the FULL recipe card.
Ingredients
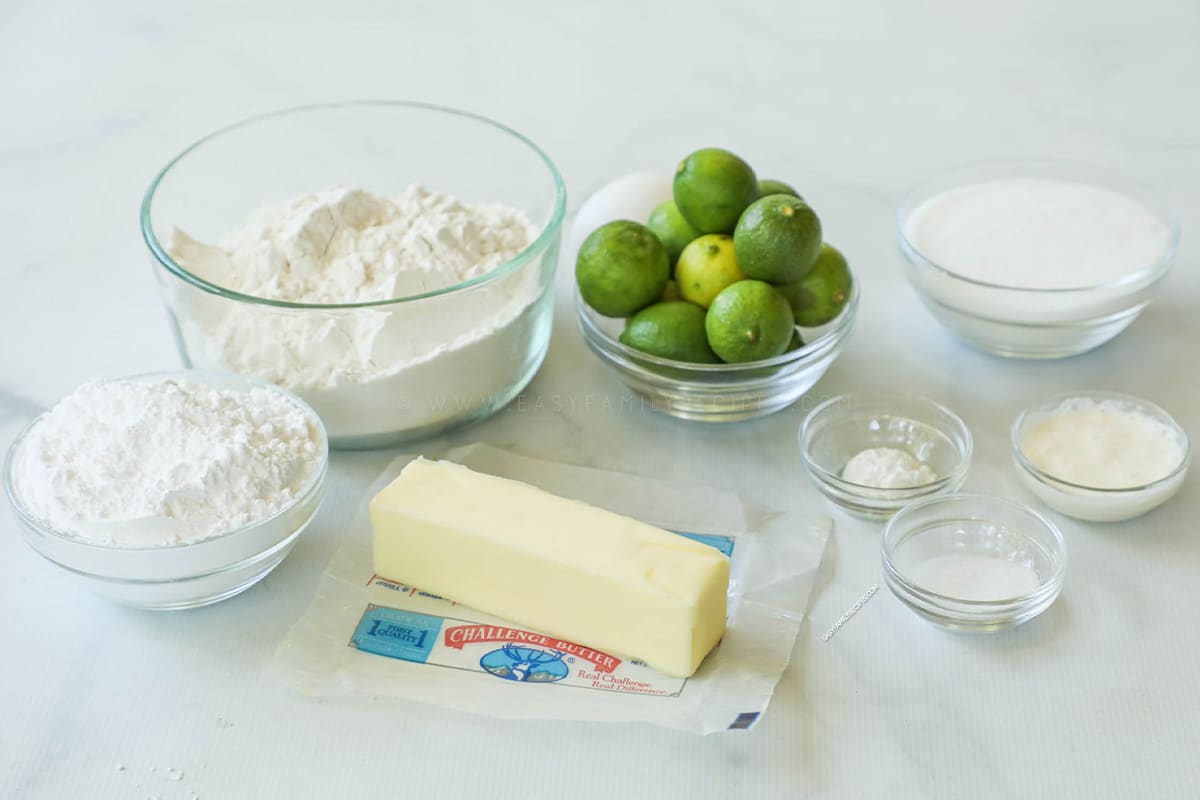
For the cookies:
- Challenge Butter– I use Challenge Salted Butter that has been softened in this recipe. You can also use unsalted butter if you prefer and add 1/4 tsp salt. I prefer to use salted because it is what I keep on hand every day in my kitchen.
I have used Challenge butter for years because The taste is pure, and the flavor is consistent. Challenge Butter has been a quality staple in kitchens since 1911. It’s churned fresh daily from two natural ingredients: the freshest 100% real pasteurized sweet cream and salt. That’s it. Nothing artificial or synthetic.
- Sugar– white granulated sugar
- Eggs– large
- Key limes– Key limes are traditional for the flavor, but unless you have a really discerning food critic, you can get the same basic flavor with regular limes as well, which may be more readily available depending on where you live. Feel free to use regular limes if it makes it easier!
- All purpose flour
- Baking powder
- Salt
For the glaze:
- Powdered sugar
- Key lime juice– It may take several key limes to get enough juice. You can also substitute regular lime juice if preferred.
- Heavy cream or milk- While you can use either cream or milk to make the glaze, I prefer cream for the richness it adds. This really offsets the tartness of the lime and the sweetness of the sugar.
- Salt– a tiny bit of salt really goes a long way in the flavoring the glaze! Don’t over do it!
Recipe Step by Step
I am going to highlight a few key steps in the recipe here, but make sure to jump down to the recipe card for comprehensive instructions on how to make Key Lime Cookies.
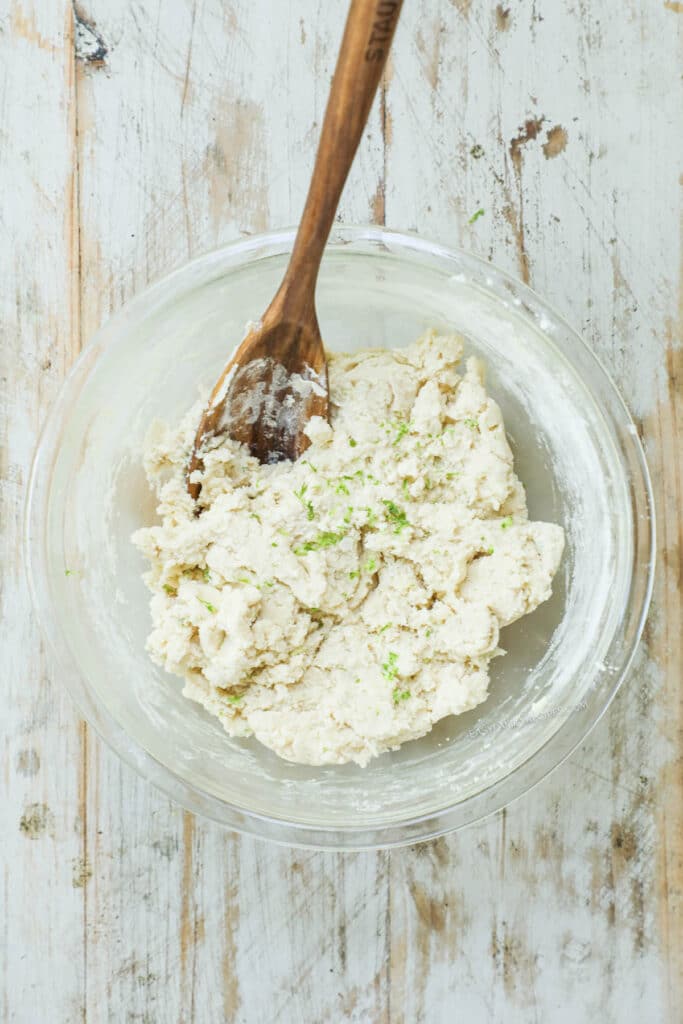
Prepare the cookie dough. The dough should hold together, and not be sticky.
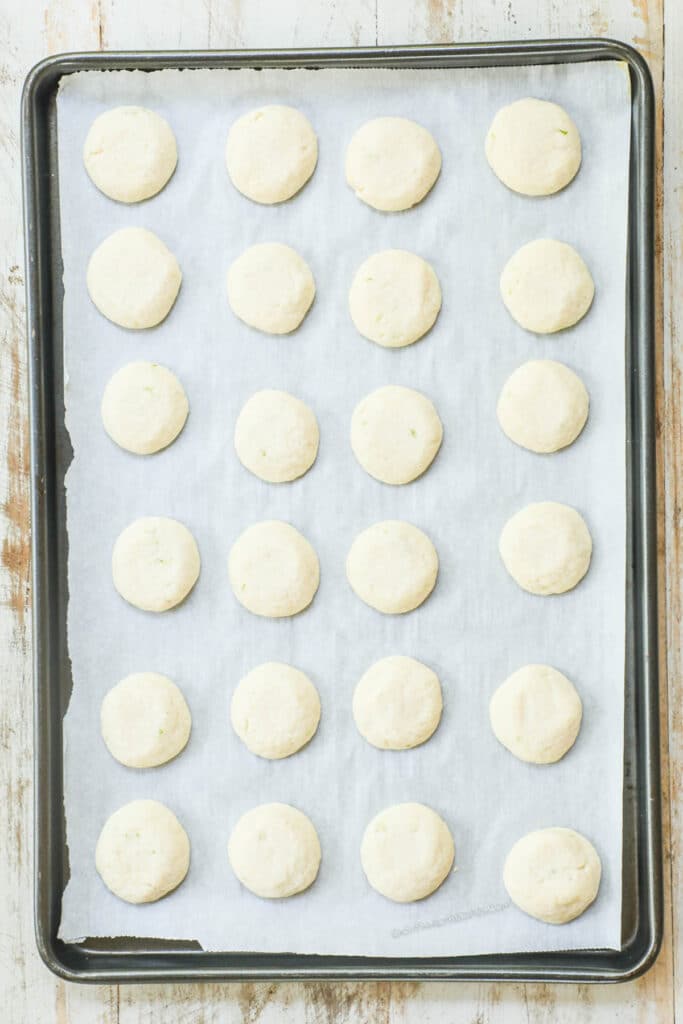
Roll the dough into balls by the tablespoonful. Bake until the centers have just set.
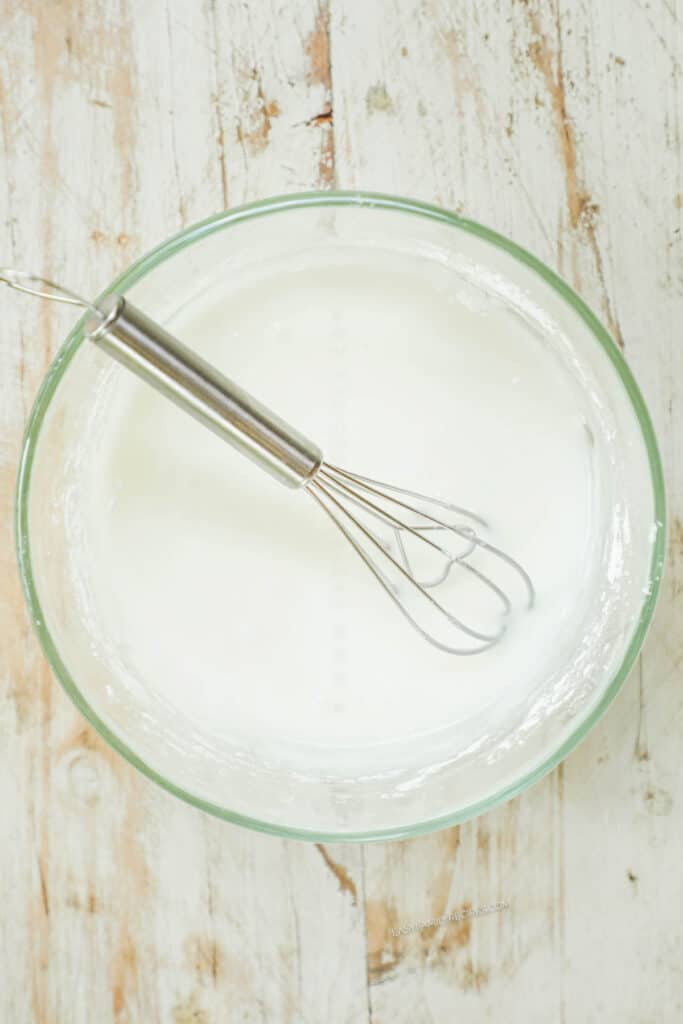
Whisk together the ingredients for the key lime glaze.
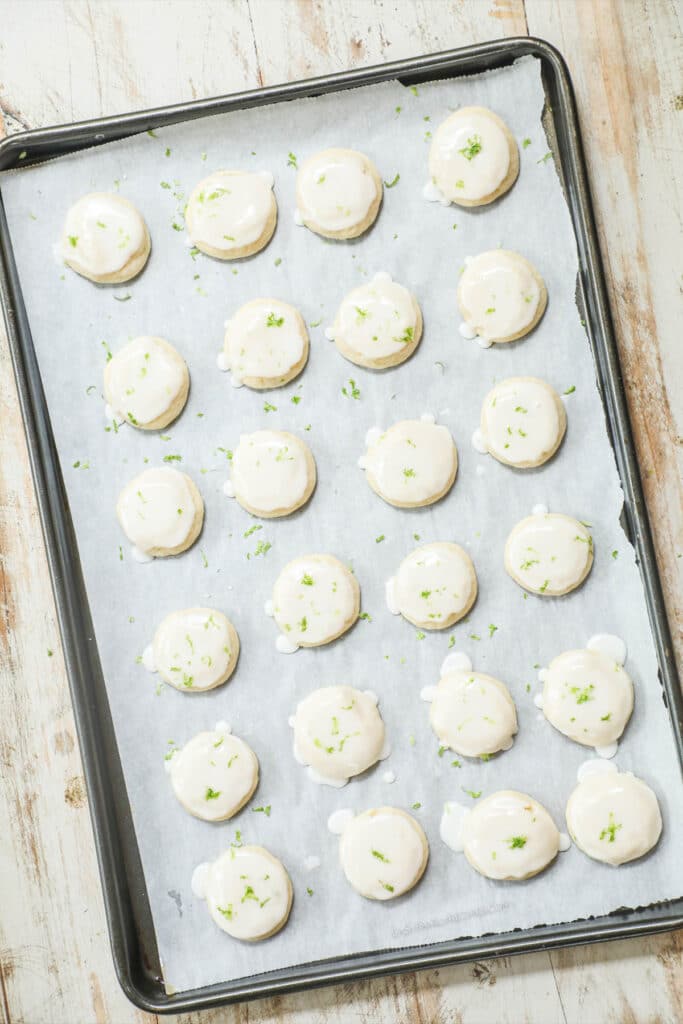
Once cooled, dip the top of each cookie in the glaze and then garnish with lime zest.
Recipe Tips
- Use softened butter– Making sure that your butter is softened (not melted, or still hard) will vastly improve the texture of your cookie and help it to keep the shape you want while baking rather than spreading too thin.
- Use fresh lime– There really is no substituting prepackaged lime juice in this recipe. You can only get the delicate flavor by using fresh lime. Plus, you will need it for the zest in the dough anyway! As mentioned above, you can use a traditional lime instead of key limes if you want to make it a little easier.
- Shape the dough– Use your hands to shape the dough into a ball and then just ever so slightly flatten the ball into a disc. If you leave the dough in a ball you will get more of a rounded mound cookie shape than a flat top. It will taste every bit just as delicious though!
- DON’T OVER COOK! The number one sin of making cookies is over baking them. These should be perfectly done in just about 8-9 minutes. The edges of these cookies do not get brown and the entire cookie will remain a light even color.
- Cool the cookies– Let the cookies cool before trying to glaze them. This helps for two reasons. First, the cookies are soft. I mean super soft. So if you try to glaze them warm they often break. They will be more stable once cool.
Second, the glaze will run off more when they are warm. It is a thin glaze and will drip down the side regardless, but when they are cool it leaves the perfect amount of glaze to cookie ratio!
Recipe Short Cuts
If you need to make this recipe, but are extra short on time, here are a few ideas that can help make this recipe even faster!
- Make the dough ahead of time– Cookie dough can be made up to 2 days in advance and stored in the refrigerator. When ready to bake form cookies into discs and bake as directed. Cookies may need up to an extra minute of baking if they are coming straight from the fridge.
- Freeze the dough– Cookie dough can be made up to 3 months in advance and baked when needed. See freezer instructions below for details.
- Freeze the cookies– Cookies can be made and frozen for up to a month before glazing to save time. See freezer instructions below for details.
How to Store Key Lime Cookies
One of the best parts about these cookies is that they stay fresh for days!
While some cookies dry out, or change in texture over the course of 24 hours these Key Lime Cookies stay perfectly moist and tender day after day.
Here are a few options for storage:
- On the counter– Cookies can be left on a plate on the counter lightly covered with parchment or a paper towel for up to 24 hours.
- In an airtight container– Cookies can be stored in a zip top bag or other air tight container at room temperature for up to 3-4 days.
- Refrigerator– Cookies can be stored in a zip top bag or other air tight container in the refrigerator for up to 4-5 days.
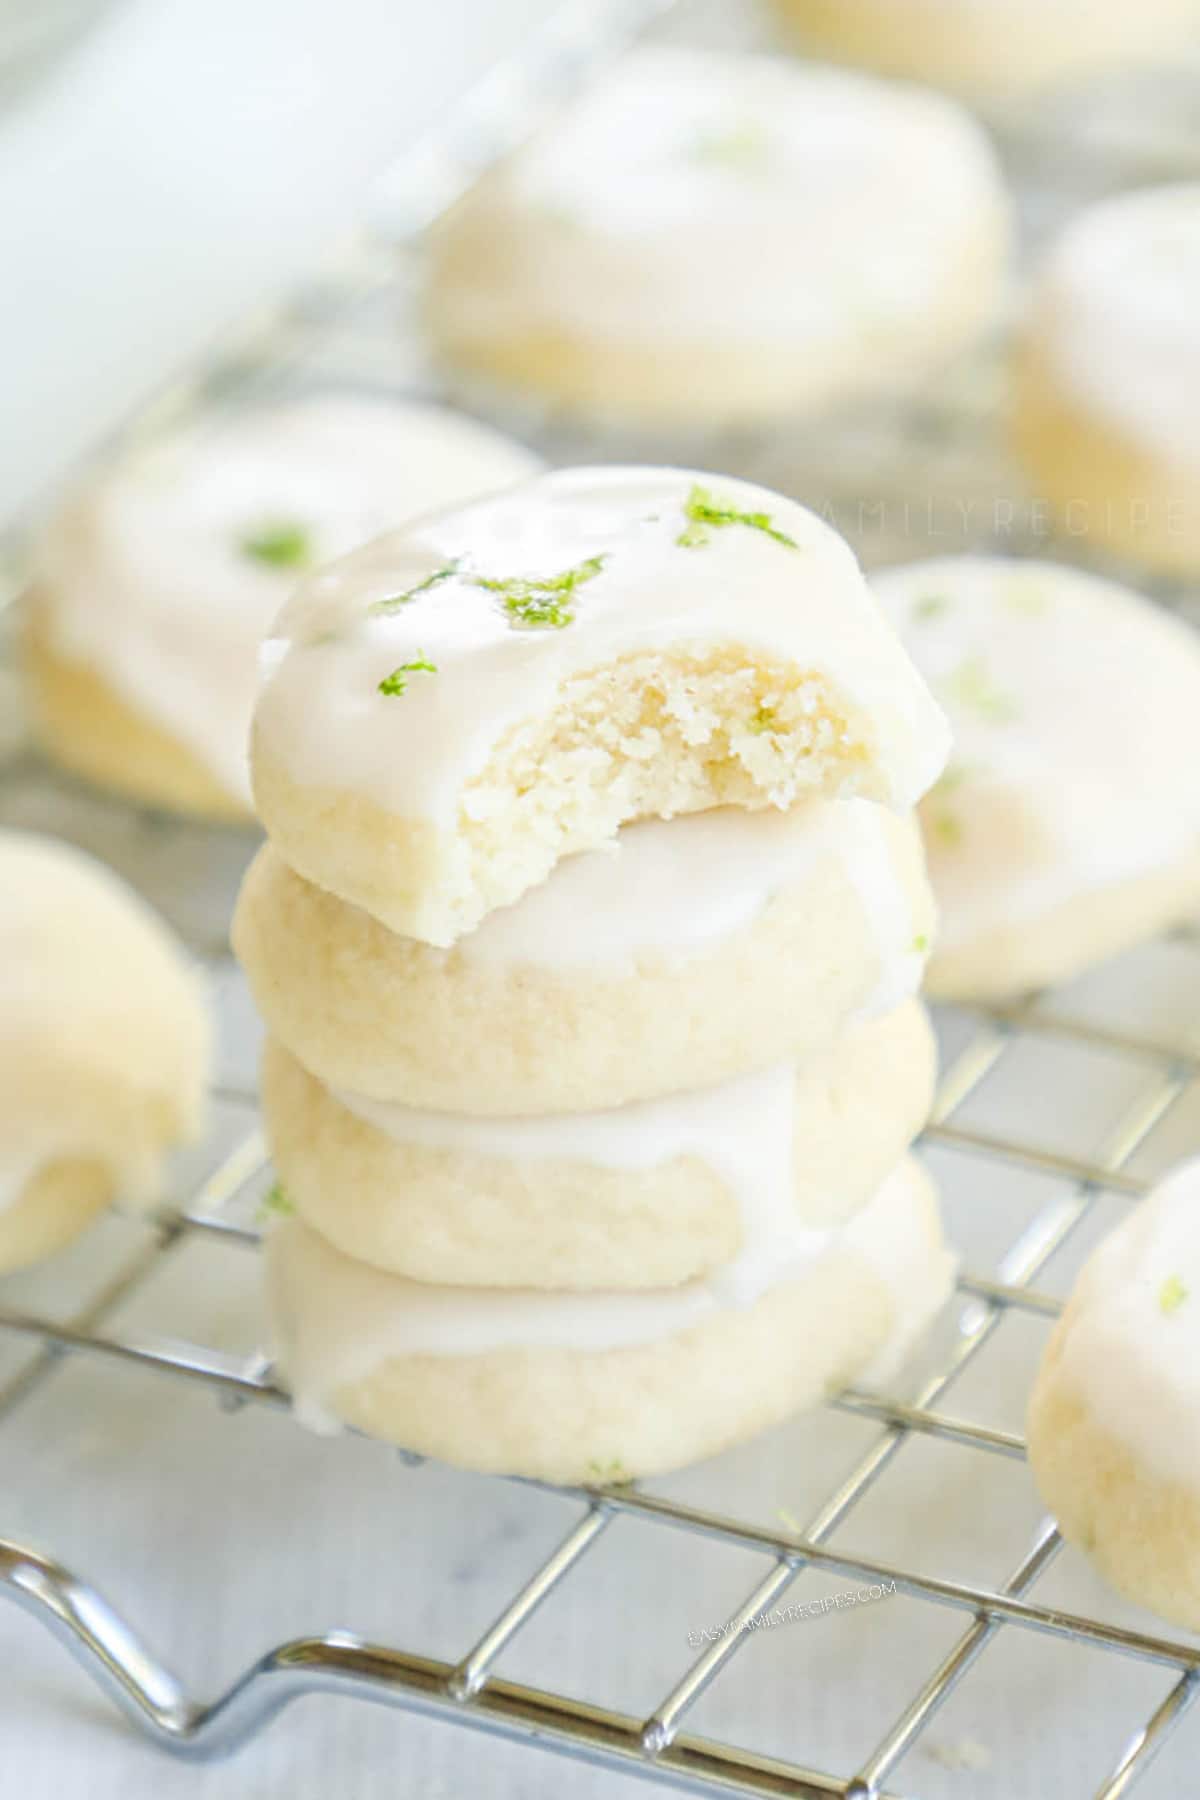
Freezing Instructions
These cookies work well as a freezer recipe. The cookie dough can be made ahead and frozen or the cookies themselves can be baked and frozen.
Choose which method works best for you depending on how much time you have and how much work you want to do in advance.
TO FREEZE COOKIE DOUGH
- Make cookie dough as directed.
- Form into discs slightly thinner than you would if baking them right away. (The cookies won’t spread as much when cooking from frozen.)
- Lay on a cookie sheet or sheet of parchment paper and place in the freezer for about 30 minutes to flash freeze. Once they are hard, you can transfer them to a zip top bag or other freezer friendly container.
- When ready to bake, remove cookies from the freezer and place on a cookie sheet. Bake at 375˚F for 9-12 minutes or until the center has just set.
- Let cool and glaze as directed.
Cookies will last in the freezer in using this method for up to 3 months.
TO FREEZE BAKED COOKIES
- Make cookies as directed and allow them to cool.
- Place cookies in an zip top bag or other freezer friendly container and freeze.
- When ready to serve, remove the cookies from the freezer and allow them to come to room temperature.
- Prepare the key lime glaze and coat them as directed.
Use cookies within 1 month for the best flavor when storing in this method.
More EASY Cookie Recipes
If you enjoyed this recipe, I really hope you will take a moment to grab a few more easy recipes for another busy night!
You can check out all of my EASY dessert recipes here, or see a few of our readers favorite recipes below.
- Lemon Meltaway Cookies
- Bakery Style Chewy Chocolate Chip Cookies
- Cornflake Cookies – SO GOOD!
- Softest Sugar Cookies
- Favorite No Bake Cookies
Key Lime Cookies
Ingredients
For the cookies:
- 1 cup Challenge Salted Butter, softened
- ¾ cup sugar
- 1 egg, large
- 2 key limes, , zest of
- 2 cups flour, all purpose
- ½ tsp baking powder
- ½ tsp salt
For the glaze:
- 1½ cups powdered sugar
- 2 tbsp key lime juice
- 1 tbsp heavy cream, or milk
- ⅛ tsp salt
Instructions
- In a large bowl, cream the butter and sugar together. Then mix in the egg until well combined. Stir in lime zest.
- Add 1/2 cup flour, baking powder, and salt to the butter mixture and stir until combined. Continue adding flour by the 1/2 cup and mixing until all 2 cups are completely combined.
- Use a small cookie scoop or tablespoon to measure dough, then roll them into balls and slightly flatten with your palm and place on a cookie sheet lined with parchment paper.
- Bake at 375˚F for 8-9 minutes or until the center is just set. The cookies will remain light in color and will not get brown. Let the cookies sit for 2 minutes, then transfer them to a cooling rack.
- Make the icing by whisking the powdered sugar with the lime juice, salt and cream until smooth.
- Once the cookies are cool, dip the tops in the glaze by turning time upside down and gently lift them out, turn them over and return them to the cooking rack or a sheet of parchment to dry.
Recipe Notes
Nutrition Information
What is a Key Lime?
As you may have guess key limes are a key ingredient in this recipe. While key limes can often be found in he produce section near the traditional limes, you will notice that they are much smaller, and generally more yellow than a normal lime.
You will also find that they have more seeds and less juice than traditional limes. The juice from the Key Limes tends to be less acidic than a normal lime and often extra aromatic making them perfect to flavor treats like key lime pie, and these key lime cookies.









Leave a Reply