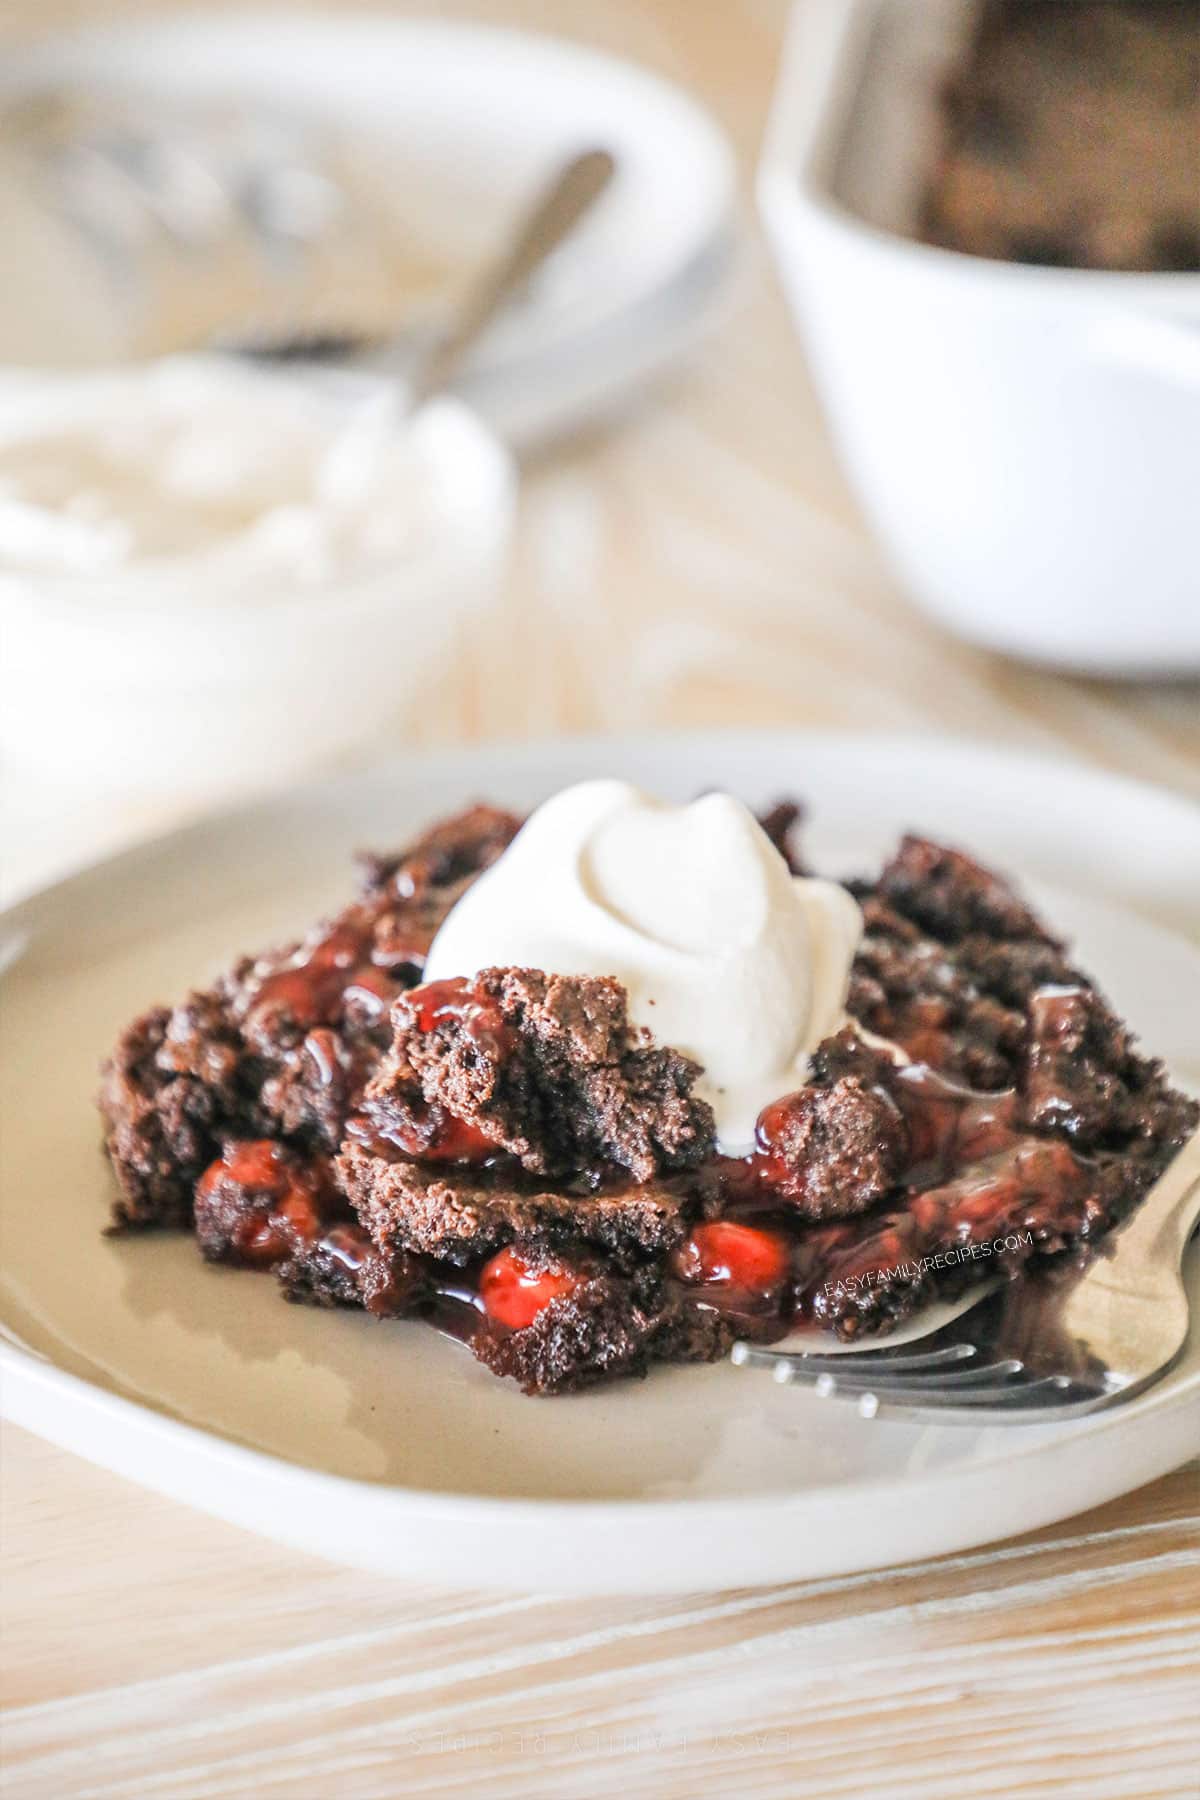
This Black Forest Dump Cake is the perfect quick and easy dessert! This 3-ingredient recipe takes just 5 minutes to prep and the result is a tart and sweet base of cherries topped with a rich, moist, chocolatey, and buttery layer of cake.

This Black Forest Dump Cake is one of my favorite recipes to whip up when I want something semi-homemade and DELICIOUS, but don’t have a ton of time.
it doesn’t get any faster than layering just three ingredients in a pan, then popping that into the oven!
This recipe really takes no effort and the result is a total crowd-pleaser!
Why I LOVE this recipe!
- Just 3 ingredients – Yep! Just pie filling, cake mix, and butter. That’s it!
- No prep required – All you have to do is layer your ingredients into a pan and it’s ready to go in the oven.
- Indulgent – The chocolatey flavor of the cake with the tart sweetness of the cherries is a flavor combination that will have everyone’s mouths watering.
Recipe Notes
This Black Forest Cherry Cake recipe is as simple as promised! Just 3 simple ingredients for a family friendly dessert.
In this section I am going to go through a few tips and tricks I use for how to make this Easy Black Forest Cake Recipe with Cake Mix to get the absolute best and most delicious results.
Make sure to scroll to the bottom for the FULL recipe card.
Ingredients + Substitutions
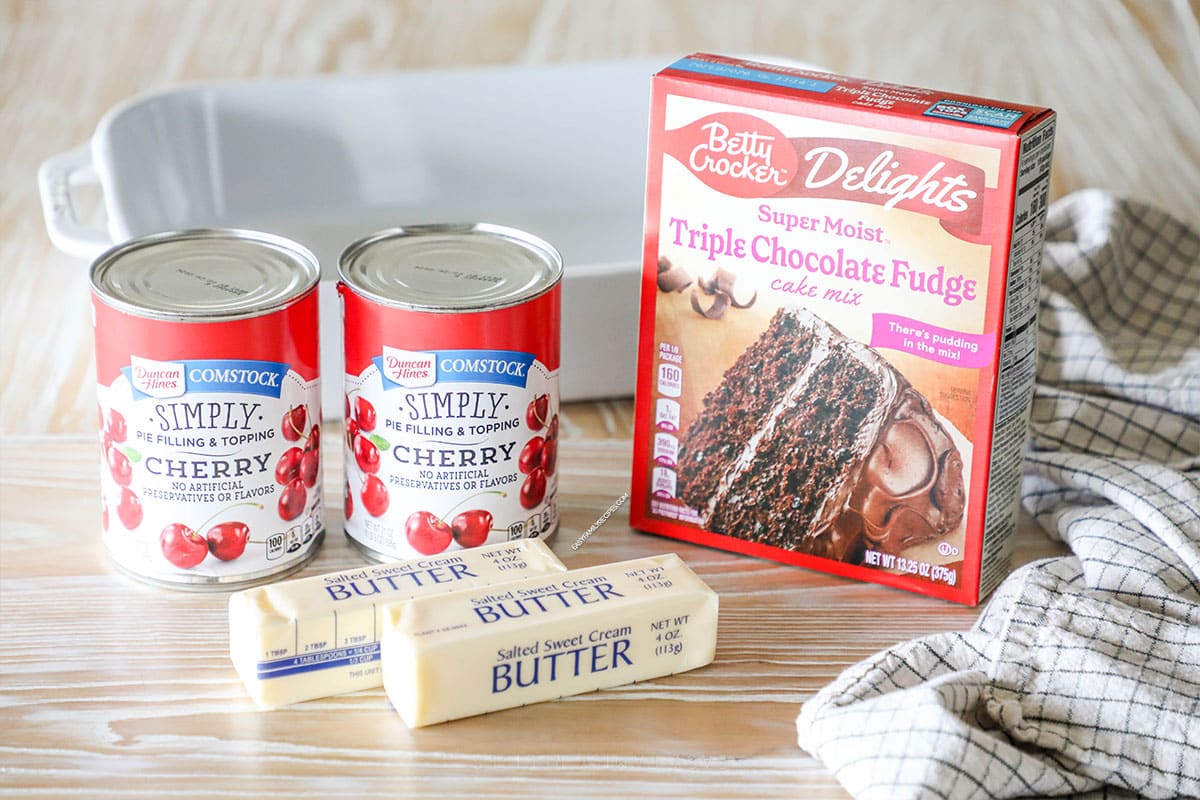
- Cherry Pie Filling – Be sure you’re using cherry pie filling; not canned cherries. There is a difference!
- Chocolate Cake Mix
- Butter
Make sure to see the recipe card at the bottom of this post for the full quantities and ingredients list.
Recipe Variations
If you love this recipe as much as we do and want some quick ways to change it up for variety, these little tips will do the trick!
- Make Black Forest Cake Cupcakes – Skip the big baking dish and layer smaller amounts into a cupcake pan. Keep in mind that this will affect the baking time.
- Use another pie filling – Not a fan of cherries? Try this recipe with another pie filling such as blueberry, strawberry, raspberry, you name it.
- Try another type of cake mix – Swap the classic chocolate cake mix out for red velvet, devil’s food cake mix, or even vanilla cake mix for a different flavor.
Recipe Step by Step
I am going to highlight a few key steps in the recipe here, but make sure to jump down to the recipe card for comprehensive instructions on how to make this Simple Black Forest Cake Recipe.
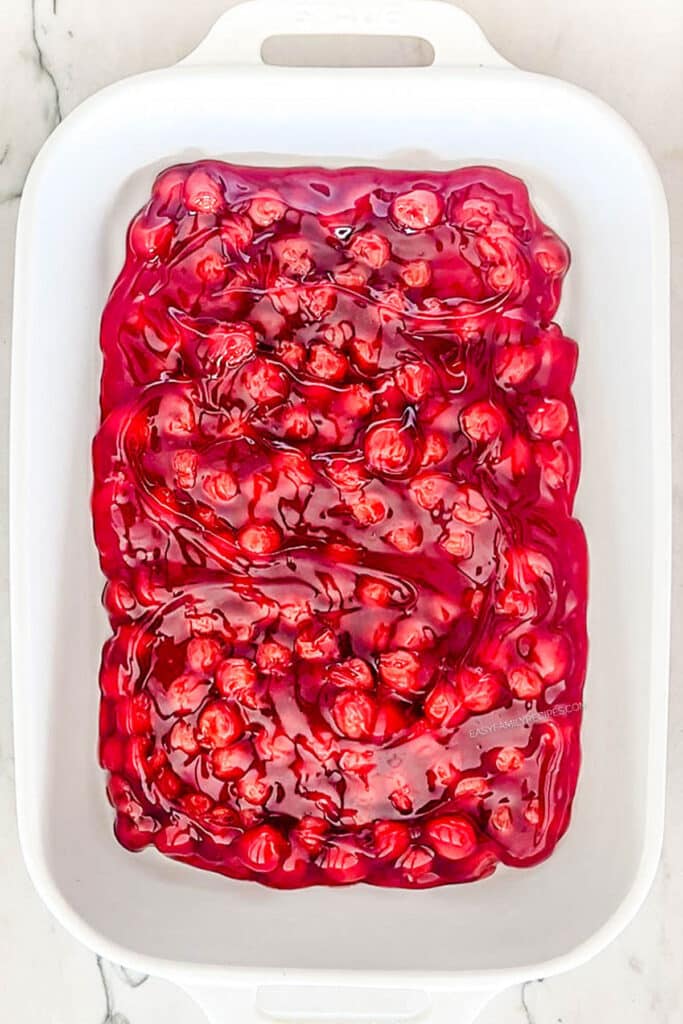
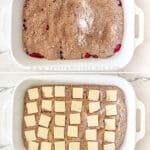
Spread the cherry pie filling evenly in the bottom of your baking dish.
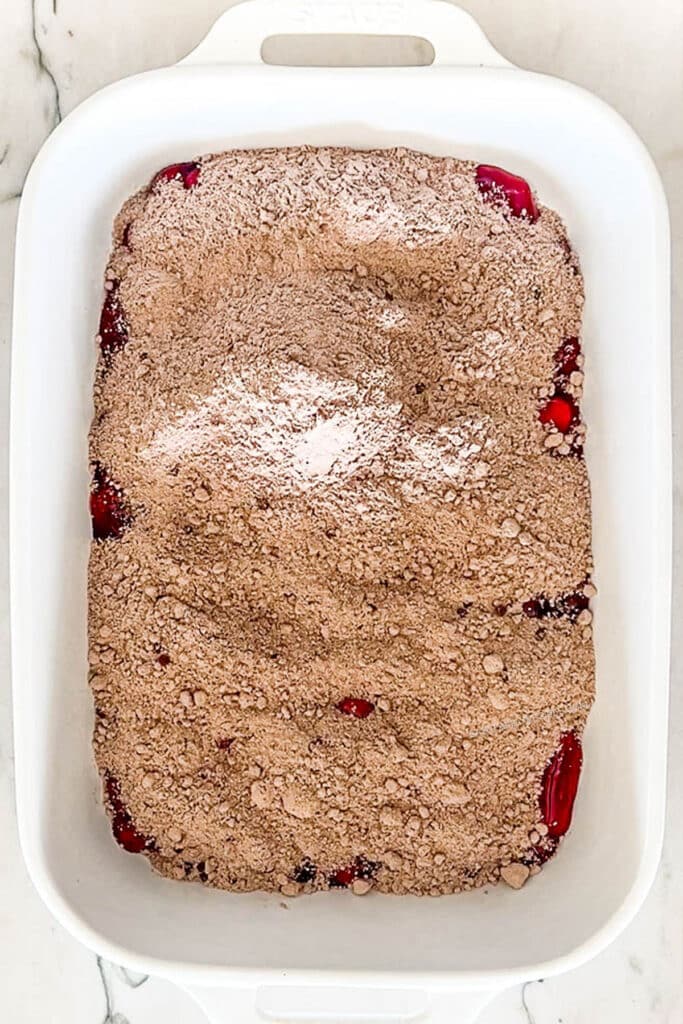
Sprinkle the cake mix over the top of the pie filling.
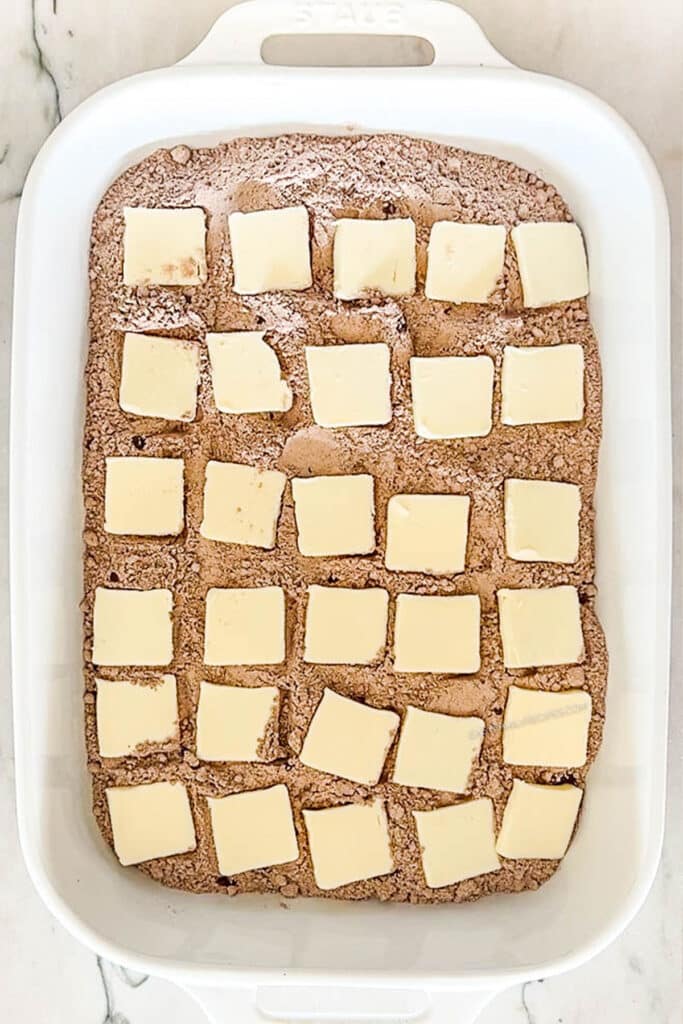
Lay thin pats of butter over the top of the cake mix.
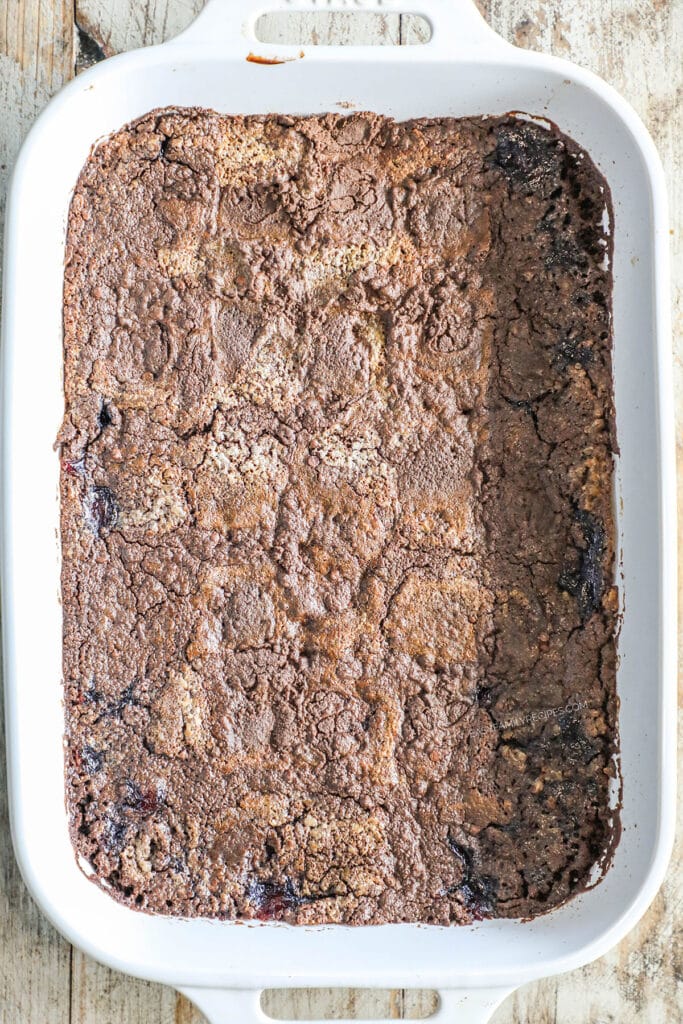
Bake at 350ºF until the edges of the cake are bubbly and the top of the cake is slightly crispy.
Recipe Tips
- No additional ingredients needed! – Boxes of cake mix usually call for additional ingredients such as egg or milk. This recipe doesn’t require any of that. The three ingredients listed are the only three you will need.
- Distribute layers evenly – While you don’t need to mix any of the layers as you assemble your cake, you will want to make sure each layer is spread evenly and the pats of butter cover as much of the top as possible.
- Play around with toppings – You can keep this dessert super simple as-is OR load it up with toppings to your liking! Try it with whipped cream or vanilla ice cream, chocolate chips, chopped nuts, chocolate syrup, you name it.
Recipe Short Cuts
This recipe really can’t get much shorter than it already is, but here are some things you that can help make this recipe even faster!
- Have your ingredients on hand – Save yourself a trip to the store and keep these three ingredients around for any time you need a quick, last-minute dessert.
- Bake and store – You can bake this cake in advance, let it cool, and store it for a couple of days in the fridge. When you’re ready to serve, warm the whole thing in the oven or individual helpings in the microwave.
Freezer Instructions
This Black Forest Dump Cake freezes beautifully when using this method. You can prepare the cake in advance and then as it thaws it tastes just as fresh and tender as it did on day 1 out of the oven
- Let the baked cake cool completely, then wrap the baking dish tightly in plastic wrap and a layer of foil.
- Store in the freezer for up to 6 months.
- When you’re ready to serve, simply thaw overnight in the refrigerator.
To reheat:
- The Whole Cake: Cover the baking dish with foil, then warm at 350ºF in the oven until heated through.
- Individual Portions: Spoon a helping into a microwave-safe dish, then microwave until heated through.
The cake has the best flavor when eaten within six months of freezing.
Black Forest Dump Cake Leftovers
If you have leftovers after everyone has a slice, you can cover the pan with plastic wrap and leave it on the counter for up to 48 hours. If it is longer than that, I prefer to transfer to an airtight container and refrigerate.
Recipe FAQ’s
Can I use canned cherries?
Nope! Canned cherries don’t contain the same ingredients as cherry pie filling, so they can alter the flavor and texture of the finished cake. For the best results, stick to the pie filling.
Should I stir the ingredients together?
No need. The cake bakes up perfectly by just layering the ingredients into the pan one-by-one. You can spread them gently to even out the layers, but they do not need to be mixed.
More EASY Dessert Recipes
If you enjoyed this recipe, I really hope you will take a moment to grab a few more easy recipes for another busy night!
You can check out all of my easy dessert recipes here, or see a few of our readers favorite recipes below.
- Devil’s Food Cake Cookies
- Cranberry Upside Down Cake
- 3 Ingredient Nutella Brownies
- Crockpot Peach Cobbler

Black Forest Dump Cake
Ingredients
- 2 cans cherry pie filling, (21 ounce cans)
- 1 box chocolate cake mix, (13.25 ounce)
- ¾ cup butter, (1½ sticks) cut into thin pats
Instructions
- Preheat the oven to 350˚F.
- Spread the cherry pie filling in the bottom of a 9×13 inch baking dish.
- Sprinkle the cake mix evenly over the pie filling.
- Lay the pats of butter over the dry cake mix.
- Bake for 45-55 minutes or until the edges are bubbly and the top of the cake is crisp.


Leave a Reply