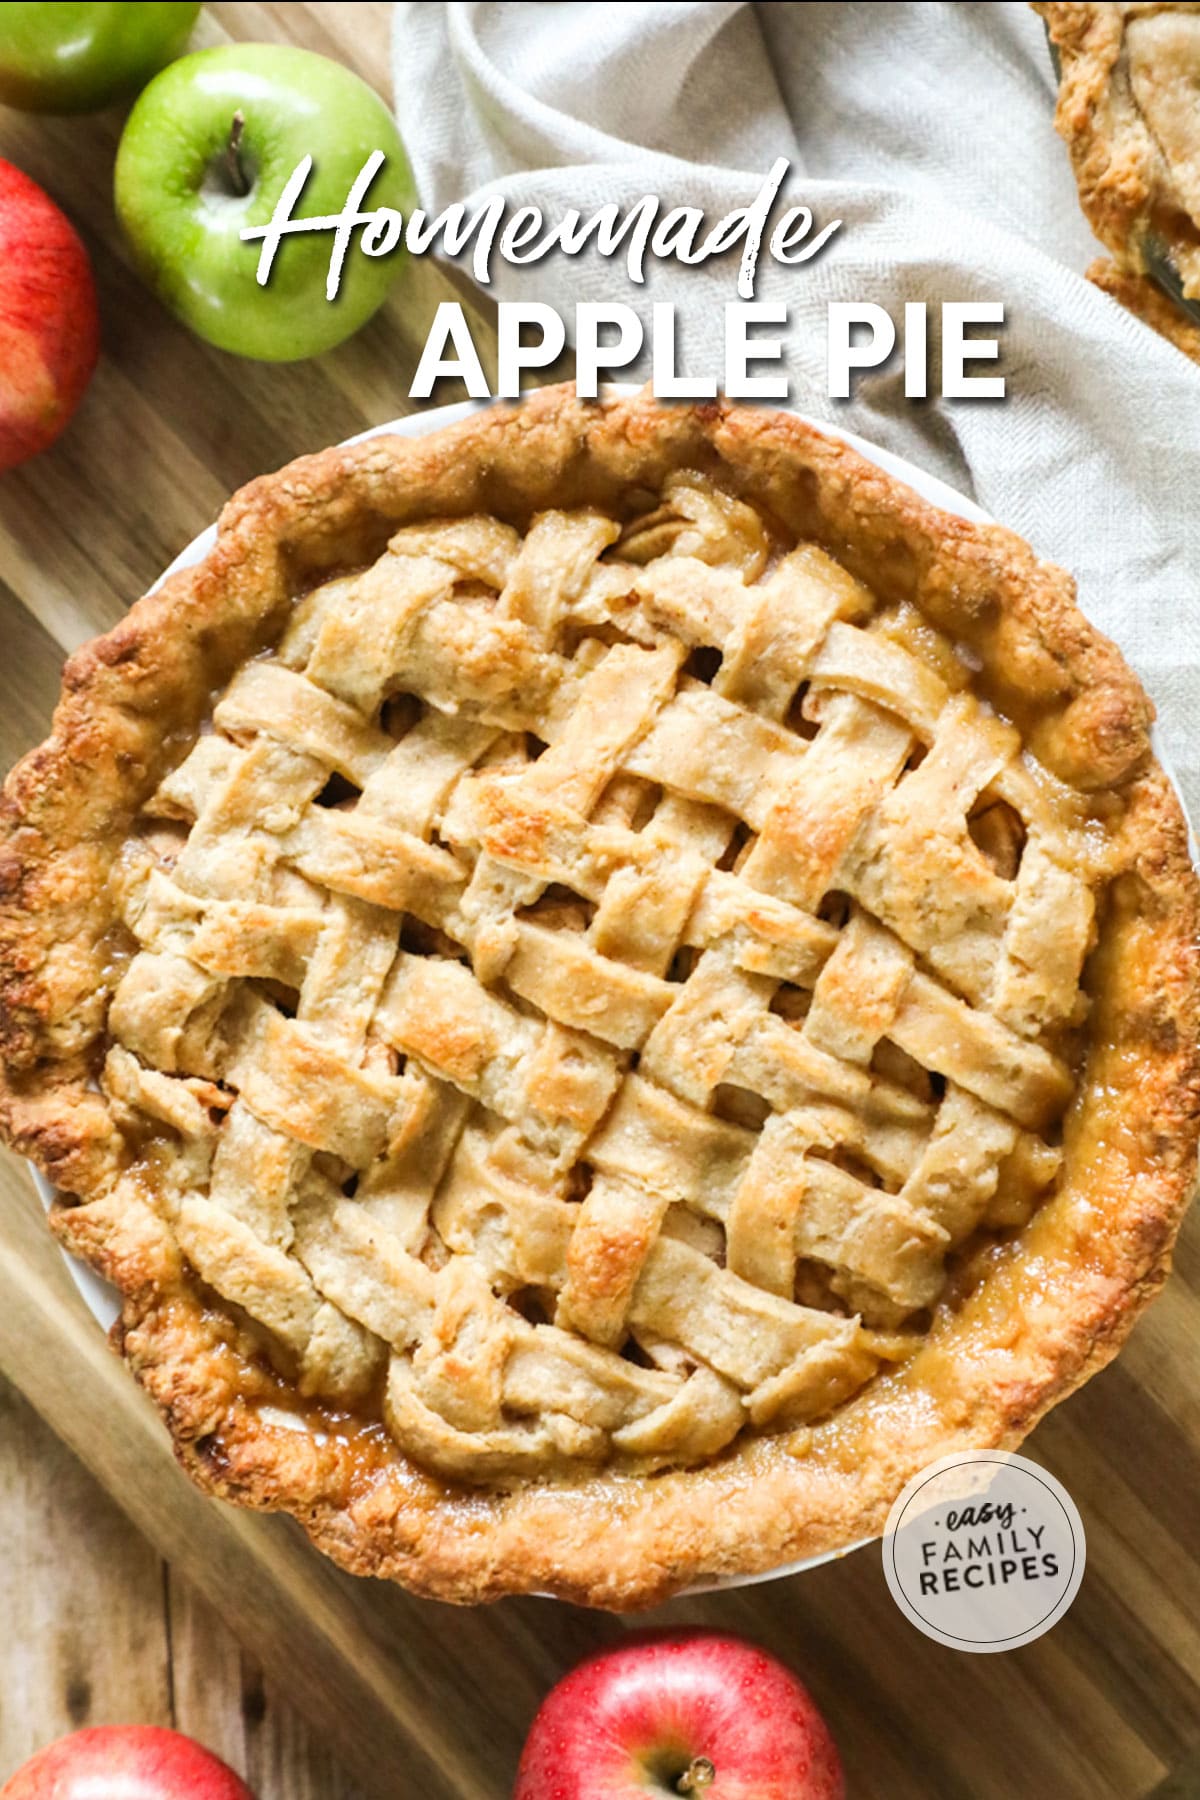
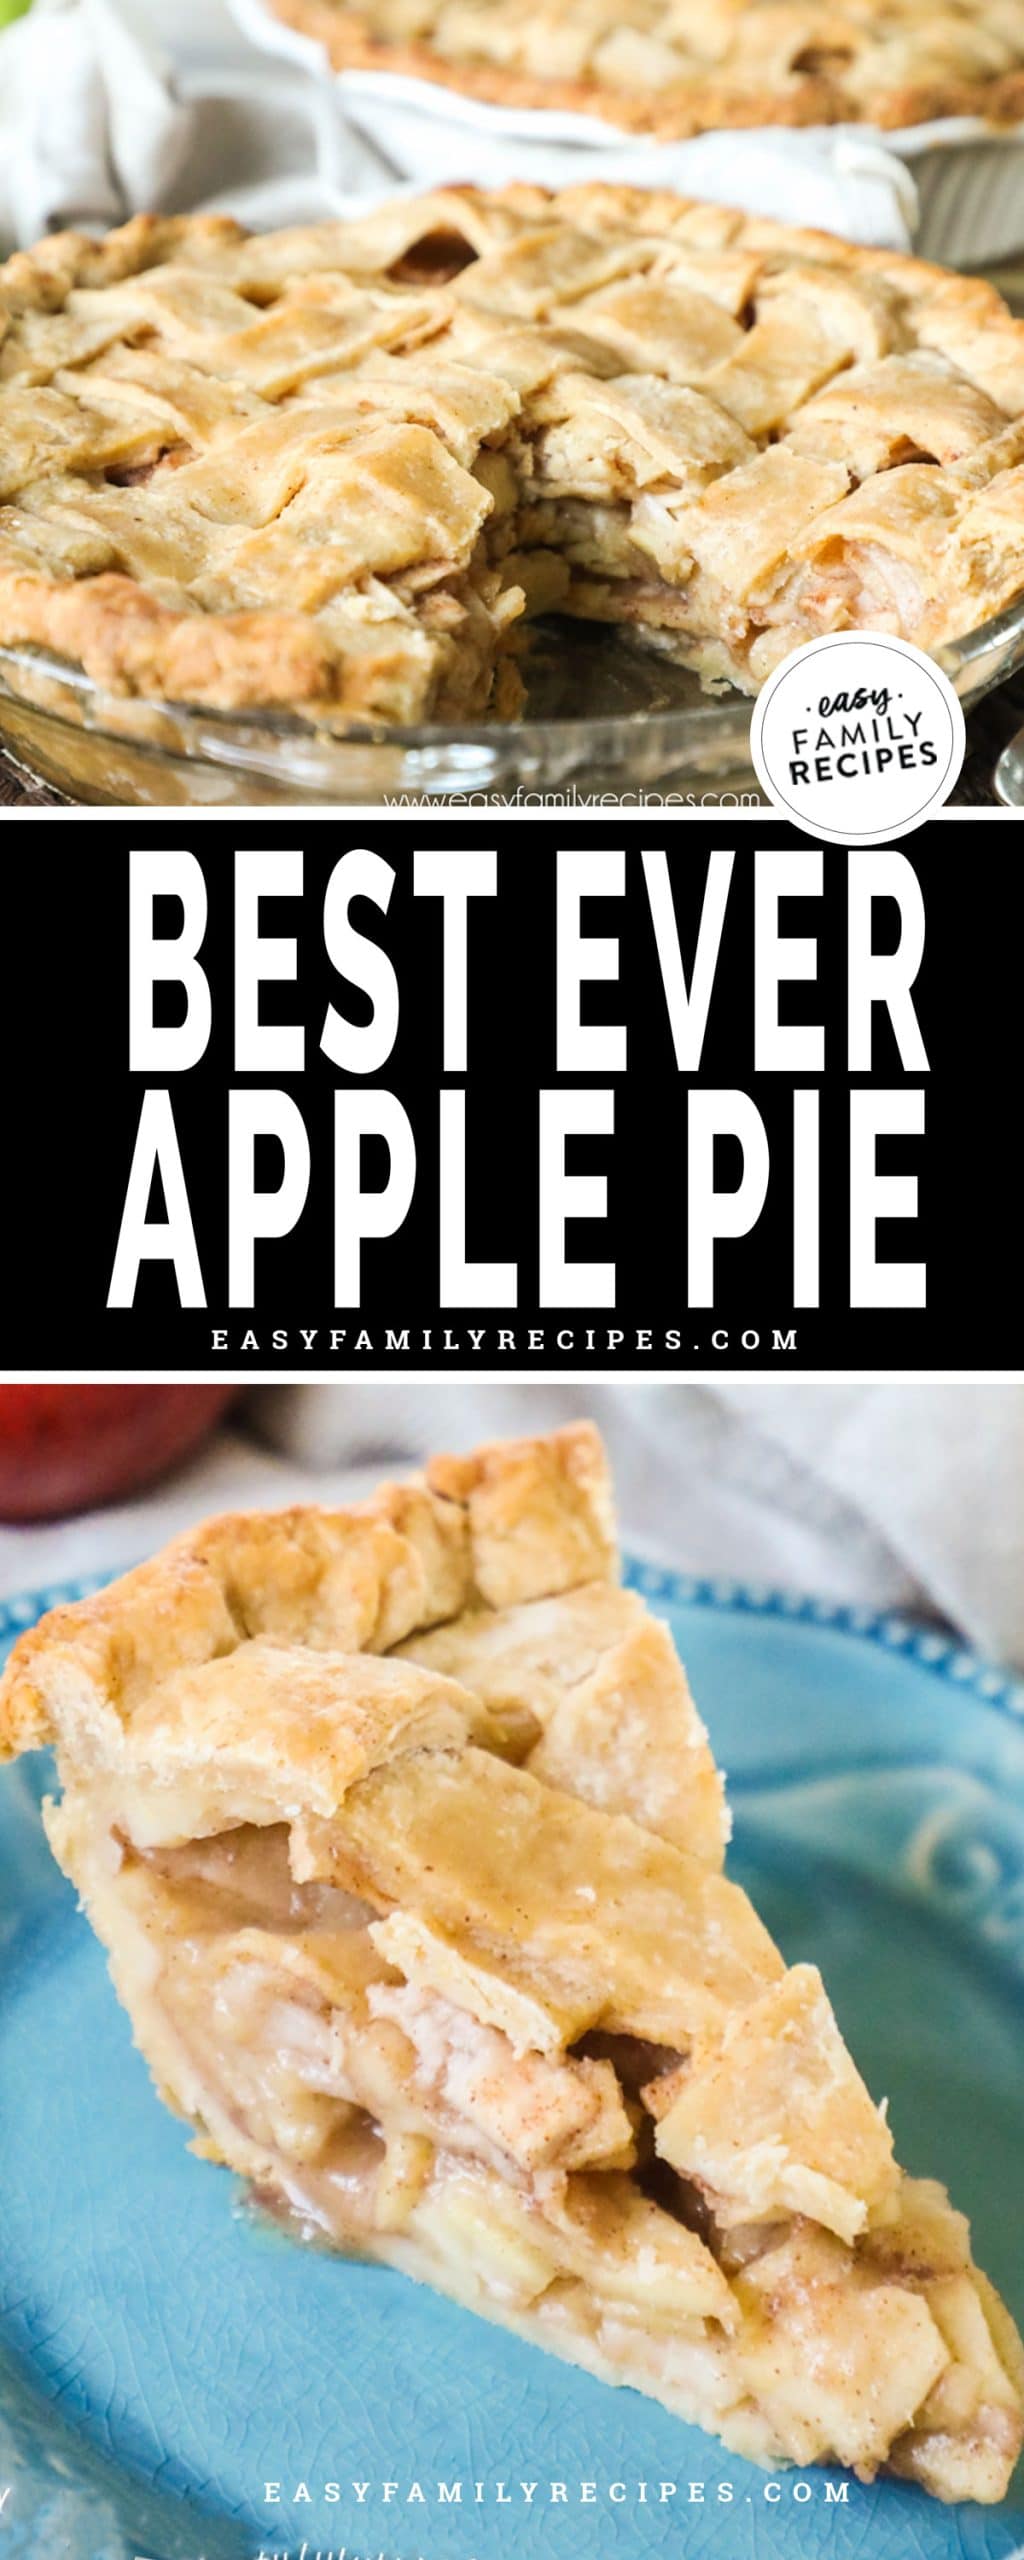
This Homemade Apple Pie is a show-stopper! Made with a cornmeal crust and two kinds of apples bathed in cinnamon and spices and cooked to tender perfection, this pie is what dreams are made of! This fresh apple pie is a recipe I get asked for every time I bring it somewhere because the flavor is just that amazing.
Homemade Apple Pie – The EASY Way!
I have had my blog for almost 10 years and today for the first time, I am sharing my family apple pie recipe! This is a recipe that I worked on perfecting for many years, and one that my family talks about and looks forward to all year long!
What makes this pie recipe special is – one, the cornmeal crust. It completely elevates the basic pie crust to something that has a little more flavor and a little more texture, for an unexpected, yet welcome combination.
Second, the homemade apple filling can’t be overlooked! This filling combines sweet and tart apples along with the perfect blend of savory spices to make a lick-your-plate-clean delicious pie.
If you are looking for an apple pie that is really something special, and not just another boring old pie, then this recipe is absolutely for you!
What I love about this recipe:
- More flavor and texture
- Deep dish
- Perfect apple filling
- Tender crust
- Can be made ahead
- Can be frozen
Recipe Notes
This Apple Pie recipe has a few more steps than our usual recipes here, but I can promise you two things…
- It is absolutely worth it!
- No part of making this pie is hard, it just takes a little time!
In this section I am going to go through a few tips and tricks I use when making this recipe to get the absolute best and most delicious results.
Make sure to scroll to the bottom for the FULL recipe card.
Ingredients
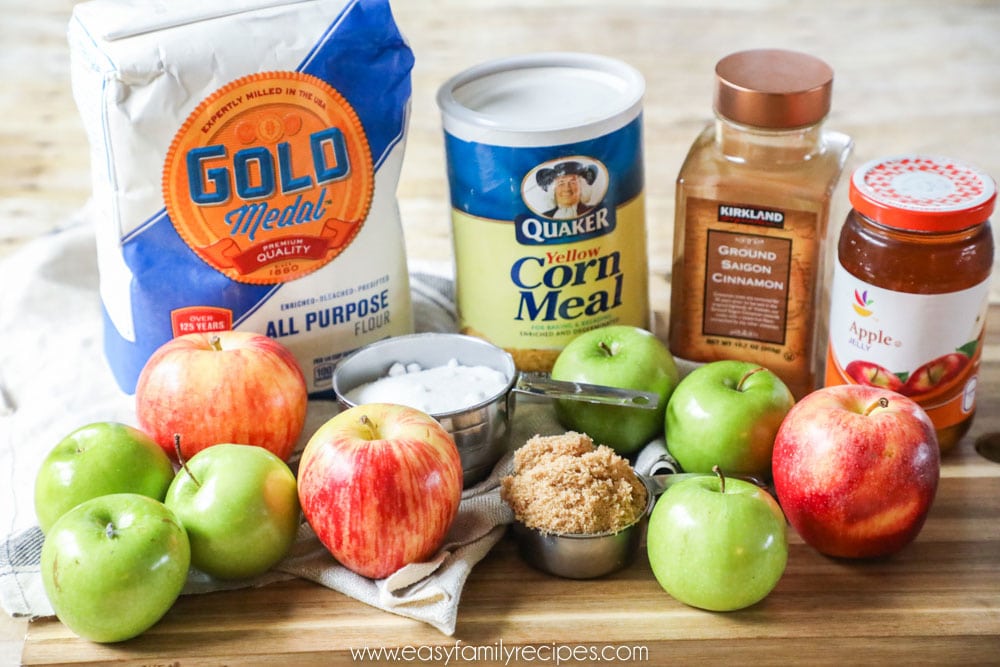
Cornmeal crust
- All purpose flour
- Plain yellow cornmeal
- White sugar
- Salt
- Cold butter
- Chilled shortening
- Chilled apple cider– apple cider gives this crust lots of amazing flavor, but if you don’t have any on hand you can also use water with good results.
Apple Pie Filling
- Granny Smith Apples
- Gala or honey crisp apples
- All purpose flour
- Lemon juice
- Cinnamon
- Salt
- Ground nutmeg
- Brown sugar
- Butter
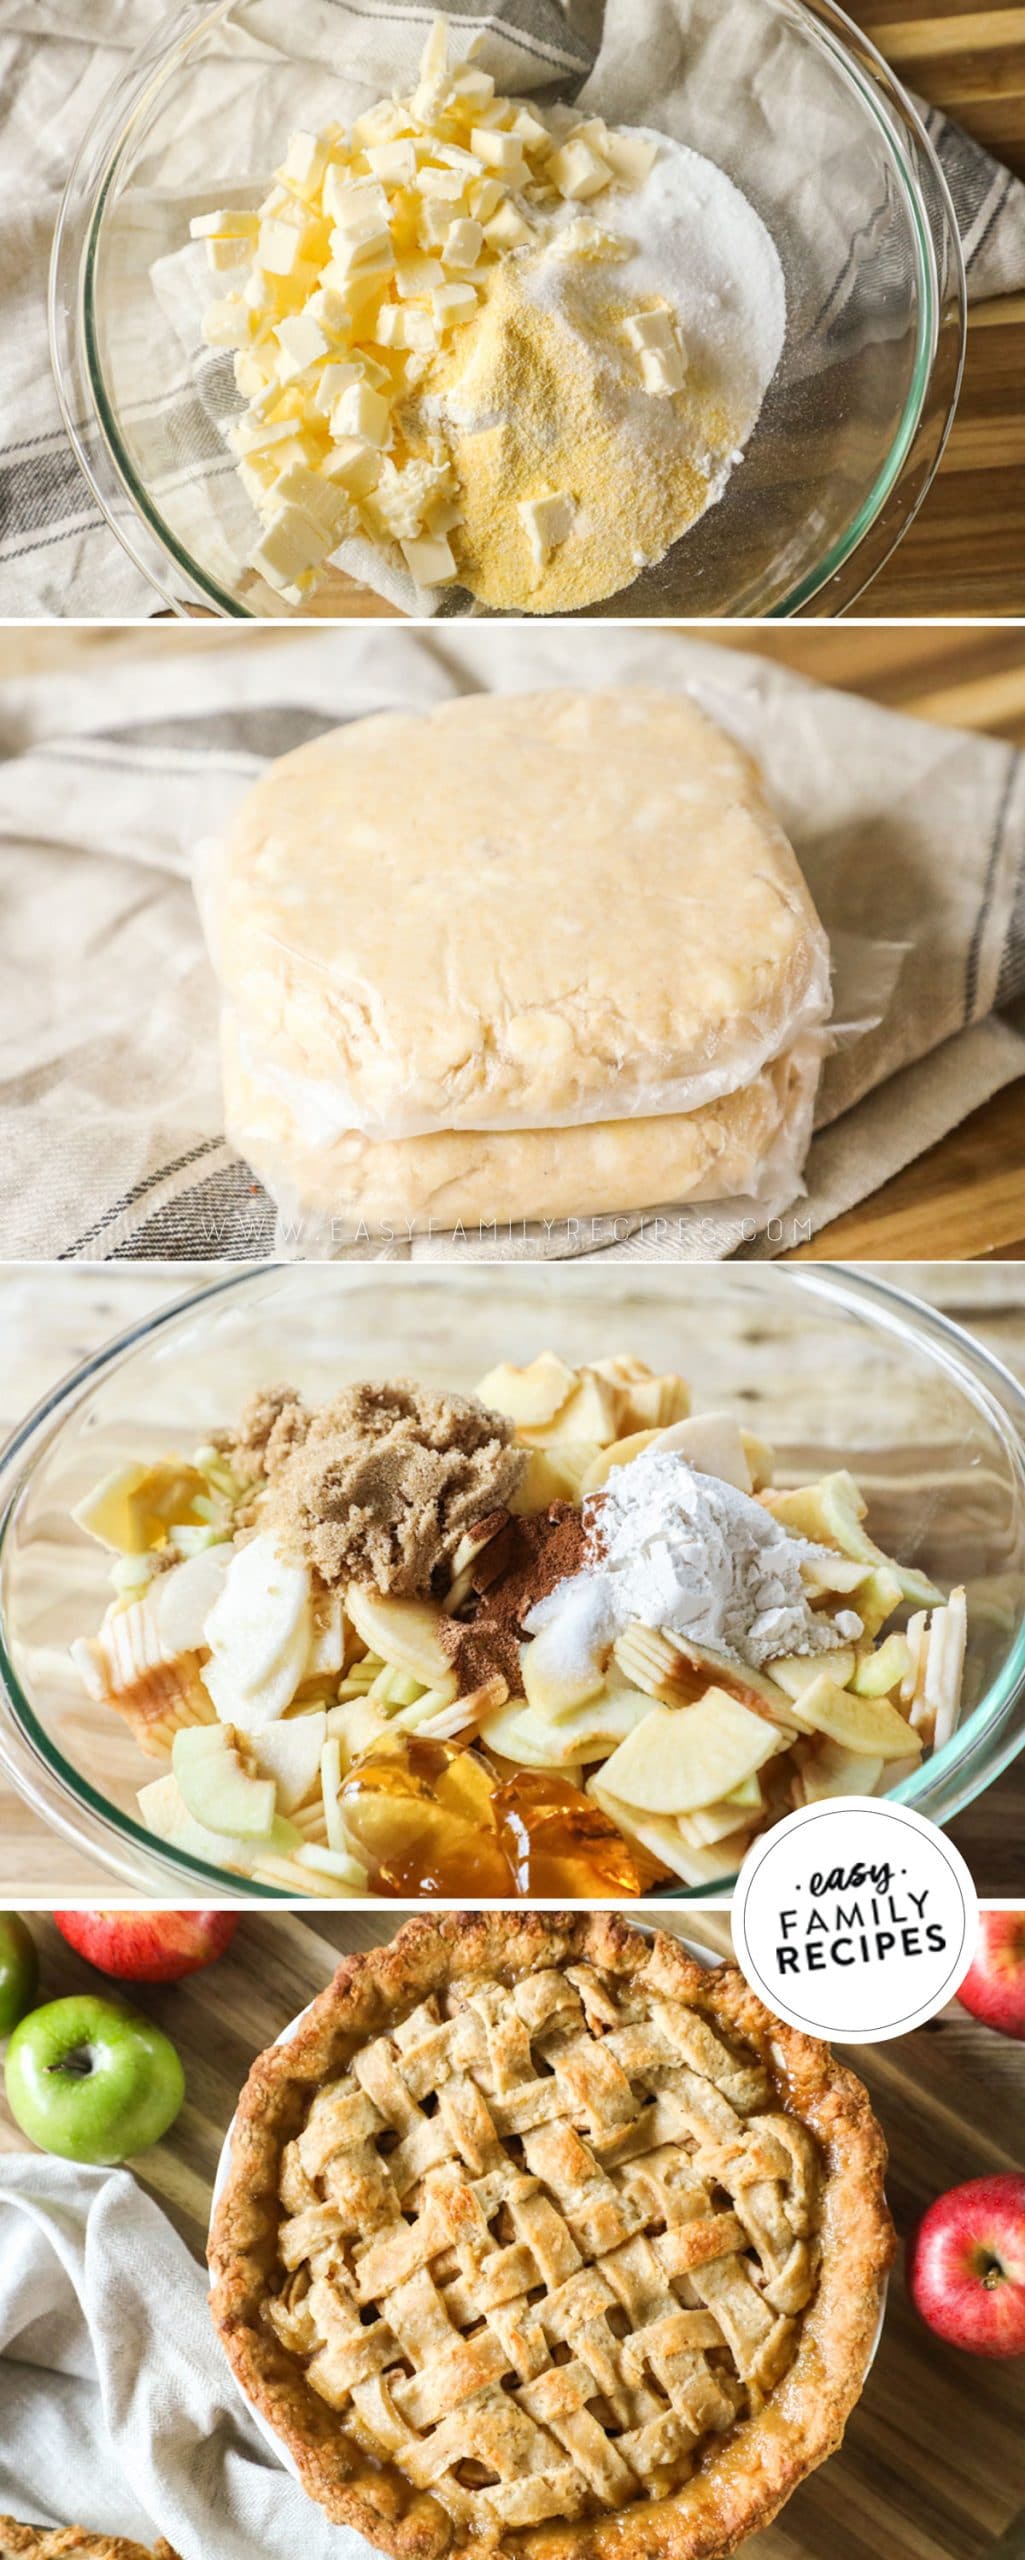
Recipe Tips
- Chill the fat– When making a pie, the first key to a light flakey crust is to make sure the fat (ie butter and shortening) is cold. It is good to be chilled, but really the colder the better! I personally like to put it in the freezer for a few hours before I start baking.
The reason why chilled fat is so important to a flakey crust is that the small pieces of butter and shortening don’t completely incorporate with the flour as it is mixed when they are cold and hard. This allows them to melt while it cooks, and creating the flakey layers in the crust. Cool huh?! - Don’t use too much liquid– The next enemy to a flakey crust is adding too much liquid. You want the crust to hold together, but not to be sticky. Over hydrating with liquid will result in a crust that is very tough once baked, especially around the edges.
- Handle the dough minimally– The last really important tip for getting a light and flakey pie crust is to handle the dough minimally. Just like we talked about in the first tip, the fat staying cold until cooking in the oven is key to getting the texture you want. Since our hands are naturally much warmer than room temperature, each time you touch the dough with your hands you transfer some of your body heat to the cold dough. The warmer the dough, the more the butter melts and gets prematurely combined with the flour.
- Shake, shake, and shake some more! This leads us to the method of making pie crust I have been doing with my mom as long as I can remember. The shaking method! You will need a large bowl with a tight fitting lid. To do this, just grip the bowl tightly, holding the lid on while you shake, and start to shake.
The shaking will take a bit for liquid to get distributed enough through the flour to start sticking together, but all of a sudden it just starts happening fast and once it does, it will come together in no time.
Generally it will form into 3-4 balls, then I will remove the lid and use a fork or spatula to gather the dough together and divide it into halves. I then use my hands quickly to form each half into a ball and then flatten into a disc. - Pile the apples up– Once the crusts are ready and rolled, pile the filling in high, mounding it into a dome shape. Apples will reduce some as they bake, as well as, soften and compress. This means that you will lose volume in the pie as it bakes. If you want your pie to look nice and full in the end, you need to mound it up before baking.
- Guard the crust– The pie will take a while to cook. Since these are deep dish, it requires time for it to cook well all the way through. For the crust, especially the edges, it helps to protect them toward the end of baking so that they don’t start to get too brown.
You can shield the pie crust using either a store bought pie shield, or just some aluminum foil draped over the crust.
Recipe Short Cuts
If you need to make this recipe, but are extra short on time, here are a few ideas that can help make this recipe even faster!
- Prepare the crust ahead of time– The crust can be prepared and refrigerated up to a week in advance.
- Use an apple peeler corer slicer! If the thought of peeling apples for pie drives you crazy, this device will be life changing for you! It is generally under $20 and you place an apple on the end of the device and then crank it through and as it turns, it will peel, core and slice the apple perfectly.
This thing really is AMAZING! If you love apple pie, it really is worth it to have this tool, even if you just use it once a year. It is that good! - Prepare the apples ahead of time– Beyond just peeling and coring the apples, you can mix them with the seasonings up to 24 hours in advance and let them sit covered in the refrigerator until ready to use.
- Freeze the pie– You can actually freeze the pie either before or after cooking to keep it fresh and delicious. I do this every single year! See the notes below for instructions on how to freeze apple pie.
Freezer Instructions
Homemade Pie can be prepared and frozen to save time in the kitchen. You can freeze apple pie before or after cooking. Both will work and ensure the freshness of the pie.
To freeze before cooking:
- Prepare recipe as directed.
- Before cooking, wrap tightly with foil, then plastic wrap.
- FREEZE
- When ready to cook, thaw for 24-48 hours in the refrigerator.
- Bake as directed.
For the best flavor, this meal can be frozen for up to 6 months.
Apple Pie Leftovers
If you have leftovers after making Apple Pie, then it is your lucky day! They save and reheat well, and can make the start of another delicious dish.
To save leftovers, separate into meal sized portions and then place in an airtight container and store:
- in the refrigerator for 3-4 days
- in the freezer up to a month
More Easy Dessert Recipes
If you enjoyed this recipe, I really hope you will take a moment to grab a few more easy recipes for another busy night!
You can check out all of my easy dessert recipes here, or see a few of our readers favorite recipes below.
- Cranberry Upside Down Cake
- Caramel Filled Snickerdoodles
- The BEST Soft Sugar Cookies
- Dark Fudge Brownies
- Bakery Style Chocolate Chip Cookies
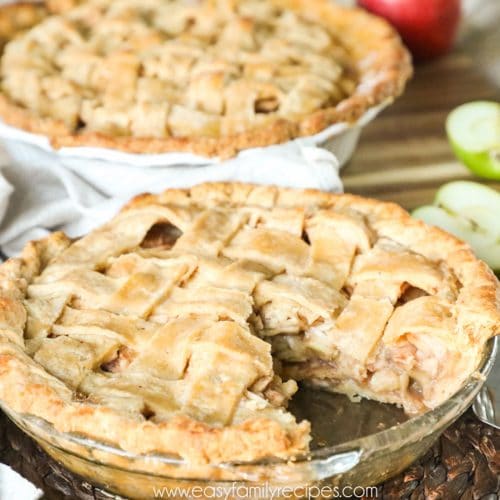
Homemade Apple Pie with Cornmeal Crust
Ingredients
Cornmeal crust
- 2 1/3 c all purpose flour
- ¼ c plain yellow cornmeal
- 2 tbsp sugar
- ¾ tsp salt
- ¾ c cold butter, cut into ½ in pieces
- ¼ c chilled shortening, cut into ½ in pieces
- 8-10 Tbsp chilled apple cider, (or water)
Apple Pie Filling
- 2 ¼ lb Granny Smith Apples
- 2 ¼ lb gala or honey crisp apples
- ¼ c all purpose flour
- 1 tbsp lemon juice
- ½ tsp cinnamon
- ¼ tsp salt
- ¼ tsp ground nutmeg
- 1/3 c brown sugar
- 1 tbsp butter, cut into pieces
Instructions
Pie Crust
- Stir together first 4 ingredients in a large bowl. Cut in butter and shortening into flour mixture with a pastry blender until mixture resembles small peas. Mound mixture on one side of bowl.
- Drizzle the apple cider evenly over the flour mixture in bowl. Put a tightly fitting lid on the bowl, and shake, gently at first and then harder as the dough starts to come together. Shake until the dough comes completely together to form a few larger balls.
- Gently gather dough into two flat discs wrap in plastic and chill from 1-24 hrs.
To assemble the pie
- Preheat oven to 425˚F. Peel and slice apples. Place the apples in large bowl. Stir in the flour, lemon juice, cinnamon, salt, nutmeg, and brown sugar. Let stand 30 min.
- Place 1 crust on lightly floured surface. Roll the dough out to about 1/8 in thick. Place the crust in 9 in pie pan. Gently press dough into pie pan so that there are no air bubbles underneath.
- Stir apple mixture well to distribute juices. Pour apples into crust, saving about 1 tbsp of juices, and packing them tightly, mounding in center. It should look slightly over-filled, but it will cook down as it bakes. Dot the top of the apples with butter.
- Roll remaining crust into the same size and thickness and cover the top as you prefer (one solid crust, basketweave, cut outs etc. If using a solid crust, cut slits to vent the pie) Fold edges under, sealing to bottom of crust, and crimp. Brush top of pie lightly with reserved 1 tbsp juices from apples. Place pie on a sheet pan to catch any filling that bakes out.
- Bake at 425˚F on lower oven rack for 15 min. Reduce oven temperature to 350˚F. Then, tansfer the pie to middle oven rack, and bake 35 min. Cover loosely with aluminum foil to prevent over browning and bake for 30 min more or until juices are bubbly, crust is golden brown, and apples are tender. Cool 1 – 2 hours before serving to allow the juices to set.




Leave a Reply